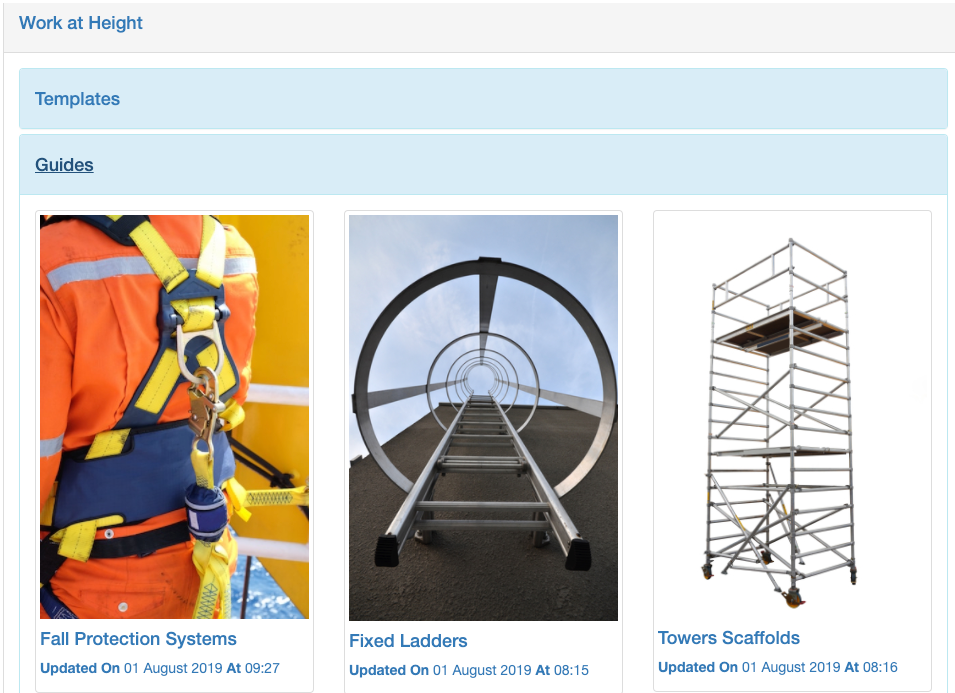
When viewing the Resource Library you will notice that some resources have a covering image to highlight the subject matter. When creating your own resources, you can add a covering image of your own.

The image you add will show at the top of the resource once a user opens it, as in the screenshot below. It will also be included in any Mailings you create that refer to your resource.

Note: The editing features explained below are only available when the resource has been opened from the Resources section within the Admin Area.
How to Add an Image
For resources without a cover image, open your resource from the Admin Area (Admin Area / Resources / Search for Resource / click on it to open) click on 'Actions' followed by 'Add Image'.

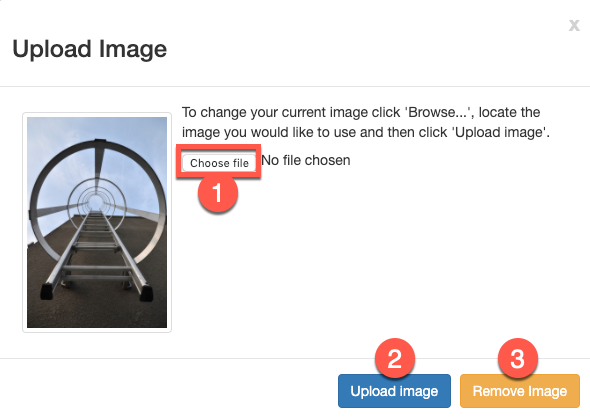
Click on 'Choose file' (#1) and select an image from your computer or device. Click on 'Upload Image' (#2).

To change or remove an existing cover image
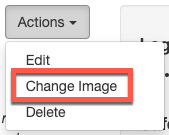
For resources which already have a cover image, you can change or remove that image by clicking on 'Actions' followed by 'Change Image'.

Choose a new image from your files (#1) and upload it (#2) or, if you prefer not to have an image, select 'Remove Image" (#3).

To change any other aspect of a resource, read our guide 'Editing a Resource'.
