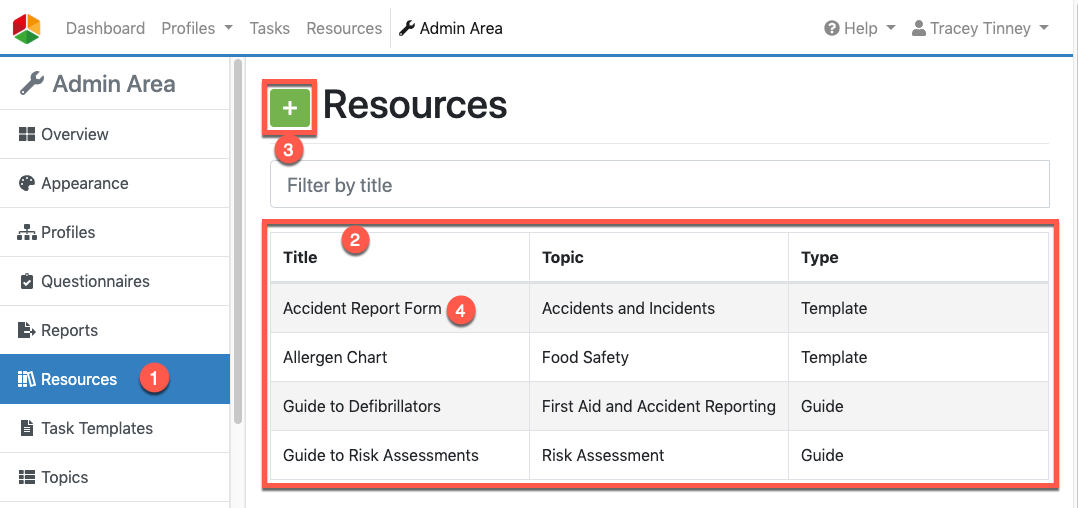
Navigate to the Resource Manager which can be found under the heading 'Resources' on the left side of the Admin Area screen (#1 on the screenshot below).

The resources listed in the table (see #2 in the screenshot above) are specific to your organisation and can only be viewed by users in your organisation.
Creating a Resource
To create a new resource, click the green plus button (#3 in the screenshot above). This will take you to the Resource Form. More information on how to complete this form can be found in our guide Create a new Resource.
Once created, your resource will be listed in the table (#2 in the screenshot above).
Updating a Resource
To view a resource in more detail, edit, delete or manage attachments, click on the name of the resource (see #4 in the screenshot above).
Editing or Deleting a Resource
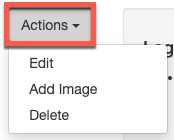
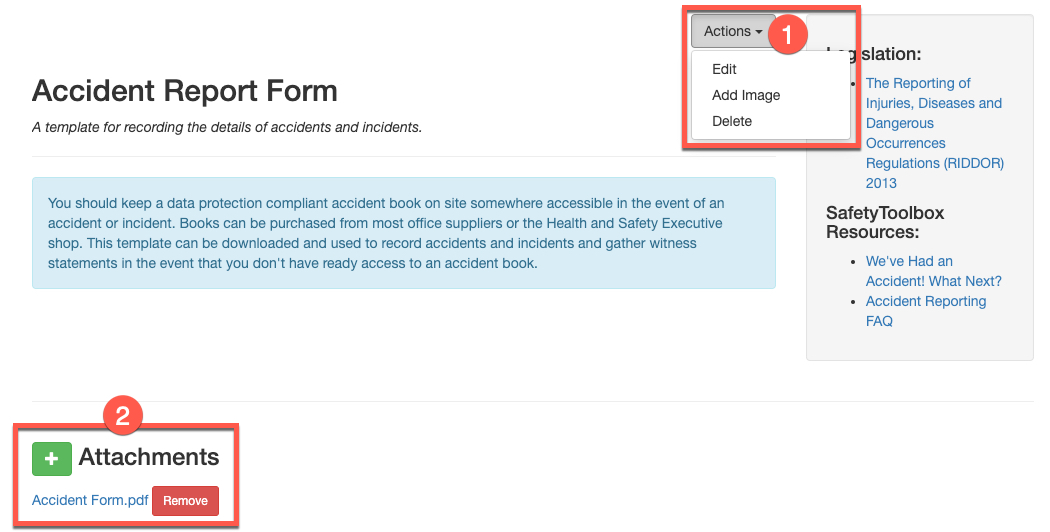
By clicking the 'Actions' button (#1 in the screenshot above) you can perform various tasks:

- Edit - this will allow you to edit all areas of your resource. See the 'Editing a Resource' Guide.
- Add Image - If you wish to add an image that will be shown in the Resource Library to draw attention to your resource, click 'Add Image' and follow the instructions. For further guidance see our 'Resource Cover Images' guide.
- Delete - To delete your resource, click this button. This is permanent and cannot be undone.
Attachments to Resources
To add or remove an attachment to a resource, please see our guide 'Attaching Files to Resources'.
Favourite Resources
Should you find yourself frequently searching the Resource Library for the same guide, you might wish to mark it as a favourite resource. You can add favourites to your own list or for all users in your organisation. For guidance, please see 'Favourites Resources (Administrators Version)'.

